Baking The Perfect Ciabatta Italian Bread
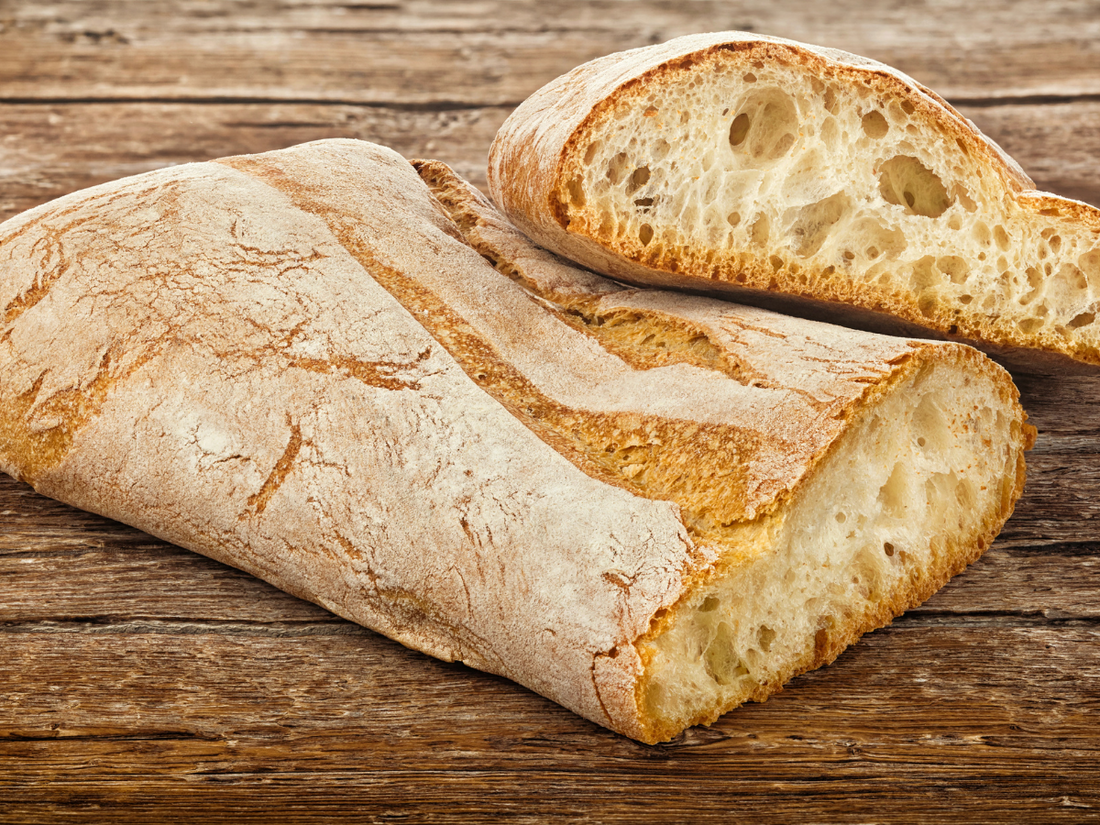
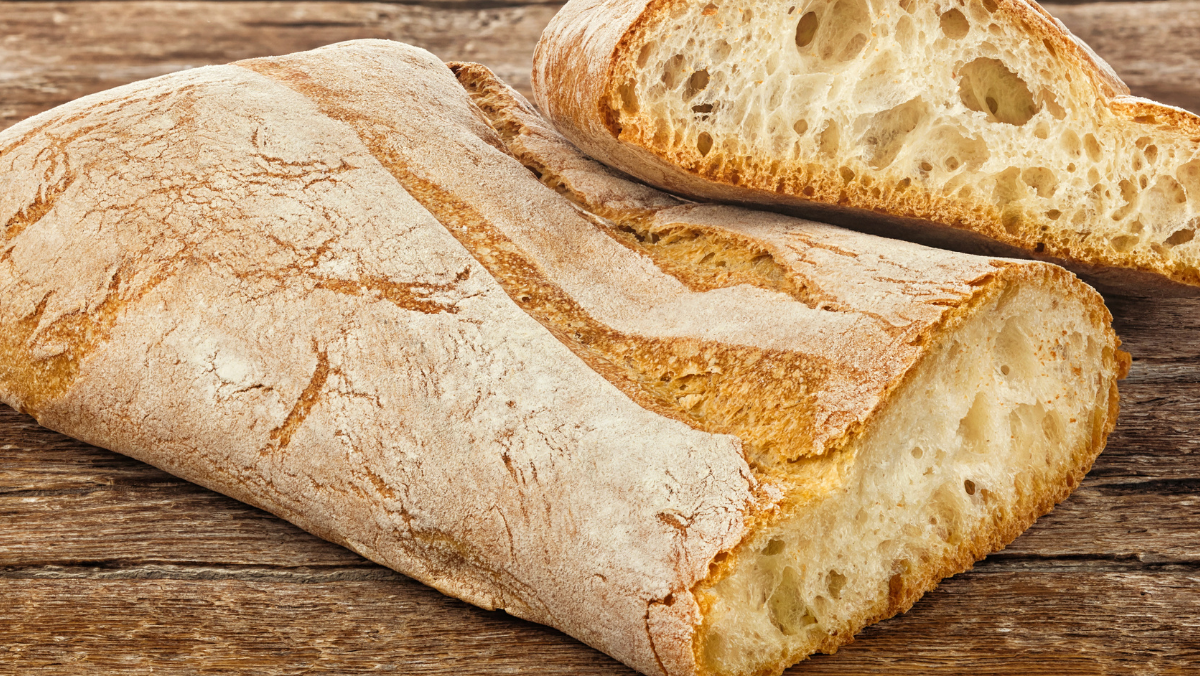
Ciabatta might look rustic, even a little scruffy, but that’s exactly its charm. After all, “ciabatta” means slipper in Italian, so no two loaves are meant to look the same. What makes it special is the inside: light, open crumb, chewy texture, and a crust that sings when you break it apart. It’s the kind of bread that feels casual yet satisfying, whether stacked into a panini or simply torn and dipped into olive oil. Once you learn the gentle folds and patience behind ciabatta, you’ll never see its imperfect shape as a flaw, it’s part of the beauty.

Ingredients
High-Protein Bread Flour (350 g + 125 g for biga): Bread flour is key to getting that airy, open crumb. The higher gluten content gives the dough strength to hold those big, irregular holes without collapsing. All-purpose, blends, even a little whole wheat works, but bread flour delivers the best texture.
All-Purpose Flour (125 g for biga): Used in the pre-ferment, this lightens the dough slightly and balances the chewiness.
Filtered Warm Water (300 g + 150 g for biga and final mix): Essential for hydration. Ciabatta dough is notoriously wet, around 85–90% hydration. That sticky, almost uncooperative texture is what creates the airy structure.
Instant Yeast (a pinch for biga + 5 g for final dough): Just enough to give the pre-ferment life and help the final dough rise without overwhelming the flavor.
Salt (10 g): Strengthens the gluten and brings out ciabatta’s subtle fermentation flavor. Without it, the dough would taste flat and weak.
Olive Oil (optional, 1–2 tbsp): Not always traditional, but adding a touch can soften the crumb and add richness
What is biga?
Biga is a traditional Italian pre-ferment, often referred to as a "stiff dough," prepared with flour, water, and just a small amount of yeast. It is left to ferment for several hours before being incorporated into the main dough. Using biga adds depth of flavor, improves aroma, helps create a light and airy crumb, and extends the freshness of breads and pizzas. The extended fermentation develops compounds such as carbon dioxide and alcohol, which help to shape the distinctive character of the finished product.

Tips on How to Make Homemade Ciabatta Bread
- Tunneling (huge air bubbles): This typically happens from under-proofing. To fix it, extend the final proofing period slightly; think of it as giving your dough a little extra "beauty sleep."
- Sticky dough: High hydration (85-90%) means a stickier dough. Use lightly dampened hands and gentle bowl-folding techniques instead of adding flour. This also avoids making your dough overly dense.
- Don’t place dough on cold countertops: Quartz tends to absorb heat from the dough, which slows down fermentation. Stick to wooden surfaces or cutting boards to keep your dough warm and happy.
- Dense loaf issues: Check your yeast! If your ciabatta is dense, it might be due to old yeast hiding in your pantry. Toss that ancient yeast jar and start fresh.
- Parchment sticking: Flour your parchment paper generously. By generously, I mean snowfall levels. A thick layer of flour will prevent the dough from sticking.
Why Ciabatta Over Italian Bread
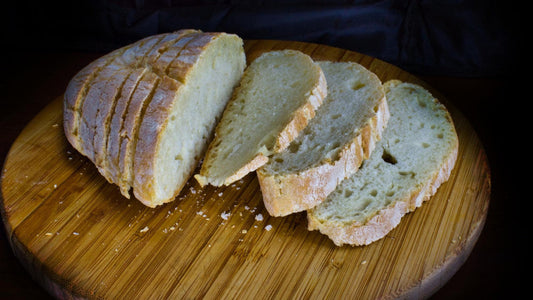
Italian bread is dependable with a tighter crumb and a slightly softer crust; ciabatta goes all in on texture. It flaunts an airy, wide-open crumb with those signature holes that let olive oil pool, and a crispy, rustic crust. Think of ciabatta as the rebellious sibling of traditional Italian bread.
That crusty, artisan-style loaf starts working on your taste buds the moment it hits the oven. The crackle, the chew, the way it soaks up olive oil and stands up to panini presses and juicy fillings, this is bread built for flavor.
If you are used to shaping Italian bread, relax for ciabatta. It literally means slipper, so a slightly misshapen loaf is part of the charm. Watch the color and adjust the bake until you get that deep, golden crust.

Alternate Baking Methods
If you have different equipment at home or want to bring out the very best in your ciabatta, these methods make a real difference:
Dutch Oven: Preheating a Dutch oven and baking your dough inside traps steam naturally, giving you that thin, crispy crust without extra equipment.
Steam Pan: A simpler option, place a tray filled with boiling water in the oven during the first minutes of baking. It creates the moist environment ciabatta loves.
Pizza Steel: My favorite budget upgrade. Preheating a pizza steel gives you bakery-level bottom heat, better rise, and a gorgeous crust. You can even use it outdoors on a gas or coal/wood fired grill that has a lid. This gives you the authentic woodfired flavor on a budget.
Wood-Fired Oven: This is the ultimate method in my opinion. Nothing compares to the smoky, blistered crust and rustic flavor that comes from wood fire. If you’ve got access to one, ciabatta practically begs for it.
Classic Italian Ciabatta Bread
Rated 5.0 stars by 1 users
Category
Bread
Cuisine
Italian
Servings
1 large or 4 small loaves
Prep Time
12
Cook Time
25
Rustic, chewy, and wonderfully airy, ciabatta is the kind of bread that looks like it came from a wood-fired Italian bakery, but you can absolutely make it at home. The secret is high hydration and gentle handling. Don’t worry if the dough feels messy or sticky; that’s exactly what gives ciabatta its signature open crumb and light texture.

Ingredients
-
125 g all-purpose flour
-
350 g high-protein bread flour
-
450 g warm filtered water
-
Pinch of instant yeast
-
5 g instant yeast
-
10g salt
Directions
Make the Biga (Pre-Ferment)
In a tall container, stir together 125 g all-purpose flour, 100 g warm water, and a pinch of instant yeast.
Cover and ferment for 12–24 hours until bubbly and fragrant.
Mix the Dough
In a stand mixer bowl, combine 300 g warm water and 350 g bread flour. Mix on low for 30 minutes.
Add all of the biga, 50 g warm water, 5g yeast, and 10g salt. Mix on low for 3 minutes, then increase to medium-high for 5–7 minutes until the dough is shiny and elastic.
Mixing by hand? Break up the biga in warm water first, then add the flour, yeast, and salt. The dough will be very wet, just keep gently combining until cohesive.
Fermentation & Folds
Transfer dough to an oiled bowl. Let it rest for 30 minutes.
With wet hands, perform 4 stretch-and-folds (one from each side). Repeat every 30 minutes for 2 hours.
Optional: Use the lamination technique. Spread the dough into a rectangle on a wet counter, fold like a letter, and rest another 60 minutes.
Proofing & Baking
Place pieces on floured parchment, cover with a towel, and proof 30–40 minutes.
Preheat your oven to 480°F (248°C). Have your pizza steel, baking stone, loaf tins or whatever you are using to cook your bread preheat in the oven at the same time. We like to add a container (like a cast iron pan) in too that we can use for steam.
Transfer dough to your oven. Pour boiling water into the cast iron pan and cover loaves with foil or the lid if cooking in a Dutch oven.
Bake 12 minutes with steam, then uncover (if covered) and bake another 13–15 minutes until dark golden brown.
Cooling
Cool completely on a wire rack. Expect a thin, crispy crust and an open, moist crumb.
Recipe Note
Recipe Notes
Hydration: Ciabatta dough should feel slack and sticky. Don’t panic! This is what creates the airy crumb.
Serving: Best eaten the same day, dipped in olive oil or stacked into sandwiches.
Storage: Keeps 2 days at room temperature. To refresh, sprinkle lightly with water and warm in a 350°F oven.


